Nowadays, you no longer need to rely on dollies during production to zoom-in on a subject. Thanks to modern non-linear editing (NLE) software like Adobe Premiere Pro, zooming in on footage can be achieved easily during post-production. This blog will provide you with tips on how to master zooming in Premiere Pro, along with some amazing zoom effects that can be achieved in on Premiere Pro.
Achieve a zoom-in on a Clip
In Premiere Pro, the digital zoom feature involves a basic animation technique where a clip is enlarged.
1. Establish the initial location for your Zoom session
- Choose a clip from your timeline and position the playhead where you want the zoom to start.
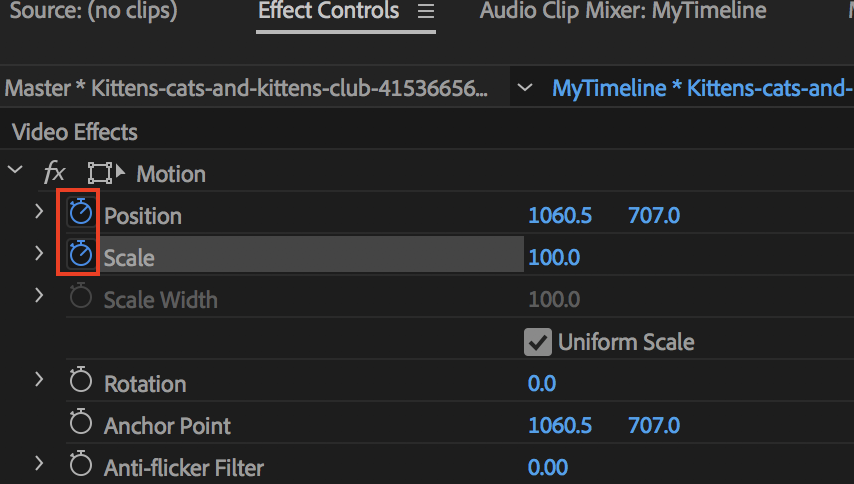
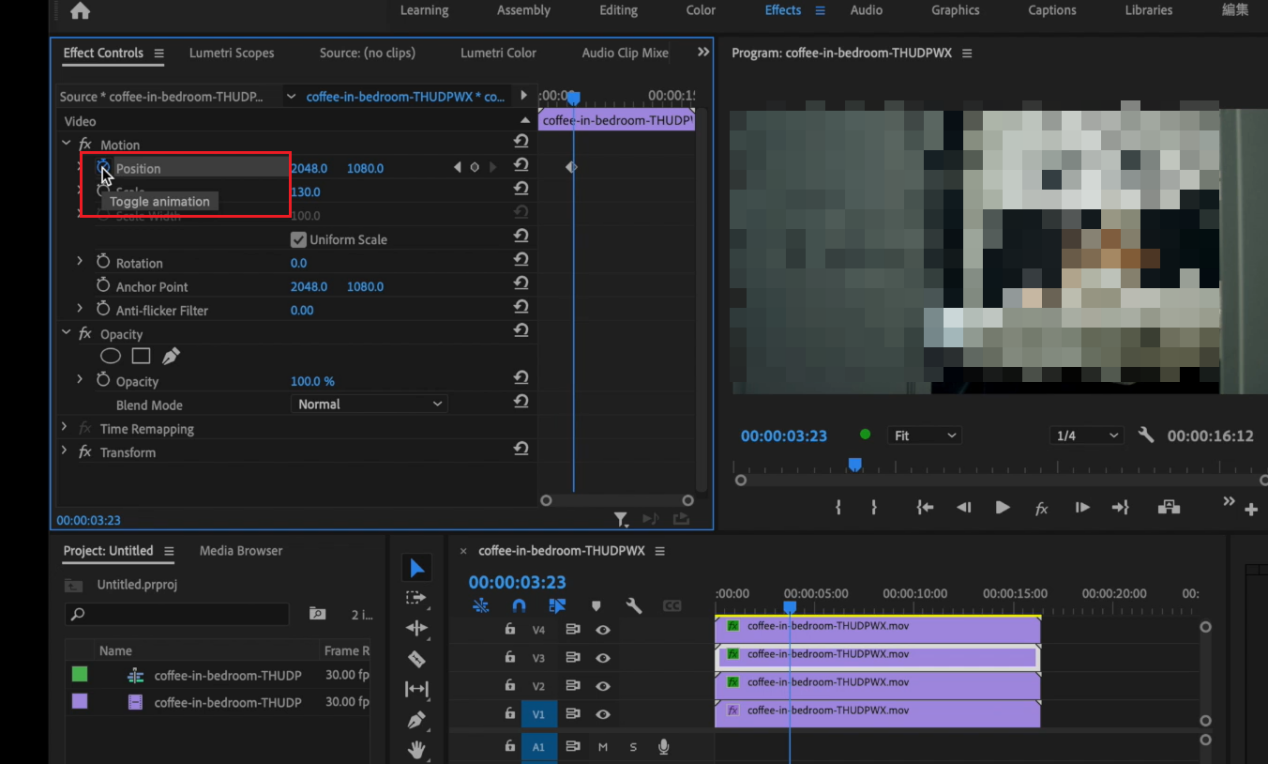
- Open theEffect Controls panel and locate the Scale and Position properties for the selected clip.
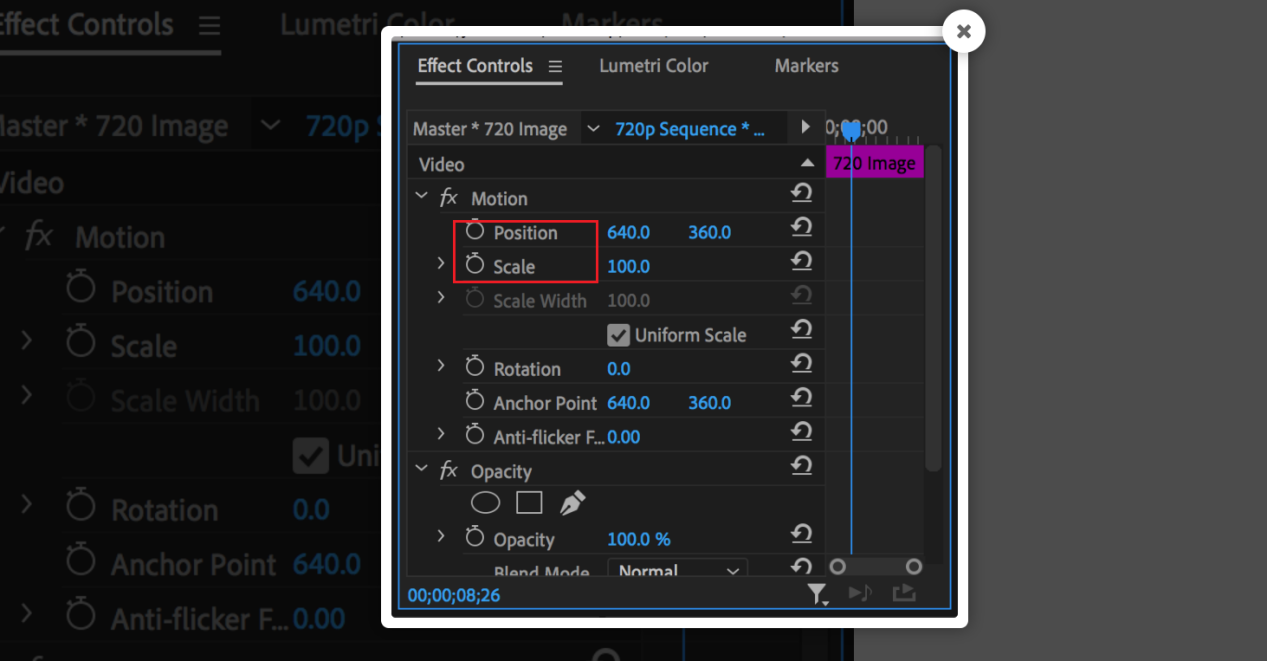
- Activate keyframing by clicking on the Stopwatch Then, set a keyframe for both Scale and Position properties. The Stopwatchicon will turn blue when keyframing is enabled, and any subsequent changes made to these properties will be automatically recorded via keyframes.
2. Apply animation to the Zoom Effect
- To achieve the desired effect, position the playhead at the endpoint where you wish the movement to conclude, and modify the Scaleand Position attributes until your subject is properly framed and zoomed in. As long as keyframing is activated, any adjustments made will be recorded as new keyframes.
- Preview the animation in real-time and fine-tune it as needed. If you wish to quicken the motion's pace, decrease the gap between the keyframes. Conversely, if you want it to move slower, increase the distance between them.
3. Refine and finalize your Zoom presentation.
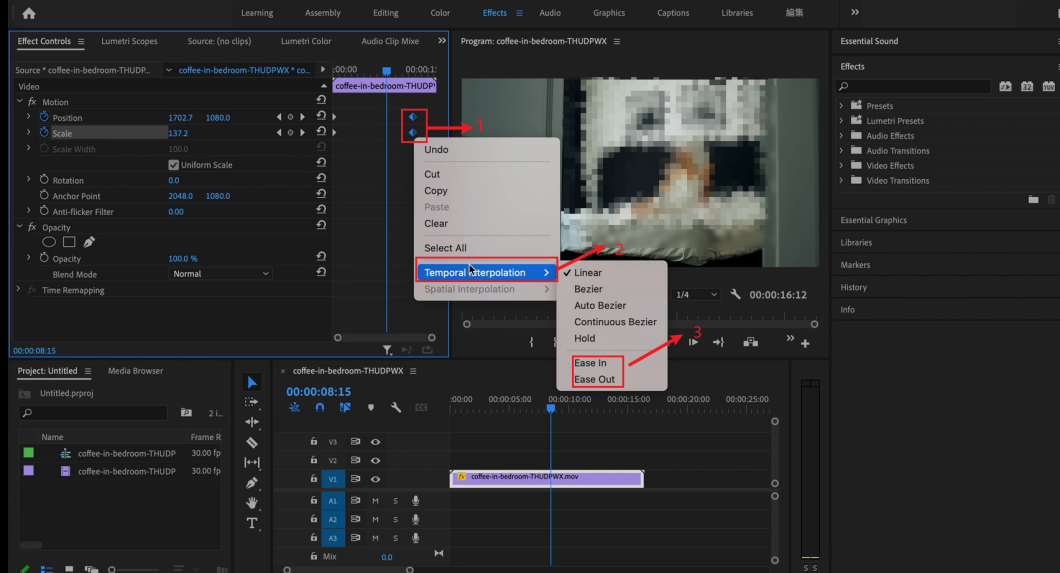
- The movement may appear abrupt at the beginning and end. To achieve a more fluid motion, right-click on the initial keyframes and explore the available options.
- For a smoother start, use Ease Out, and for a softer ending, use Ease In(see the steps in the picture).
- If you want to zoom out, place your first keyframes at the beginning of the clip, and modify the Scaleand Position properties to create a gradual zoom-out effect.
Awesome Zoom Effects on Premiere Pro
Digital zooms offer more than just basic zooming in and out - Take Your Video Editing to the Next Level by Experimenting with Transition Effects or Creating Captivating Dolly Zooms.
1. Create Dynamic Transitions with the Shutter Zoom Effect
The Shutter Zoom Transition Effect is used to create a dynamic transition between two video clips in a way that simulates a camera's shutter opening or closing rapidly while zooming in or out. This effect adds visual interest to the transition and can help to smoothly and creatively shift between different scenes or shots.
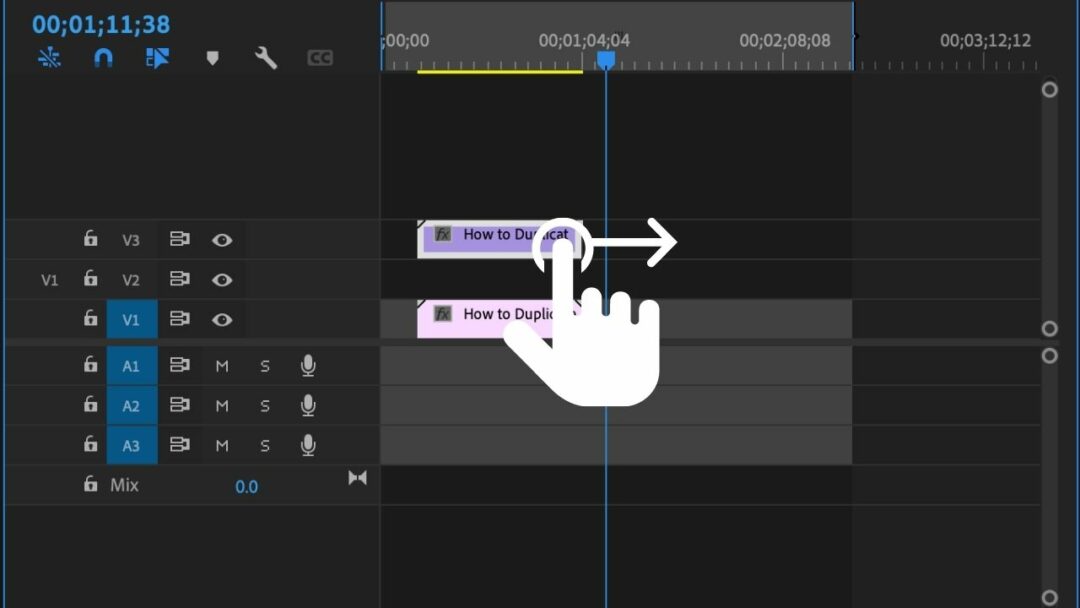
Duplicate the clip
- To achieve a zoom-in effect, you can make several duplicates of your clip on the timeline. Generally, duplicating the clip three to four times will be sufficient.
- To duplicate the clip, you can hold down the Optionkey (or Alt on a PC) and drag the clip straight up on the timeline.
Scale it up
- Access the Scale property in theEffect Controls panel and gradually increase the scaling of each clip, making sure to scale up each one a little bit more than the last.
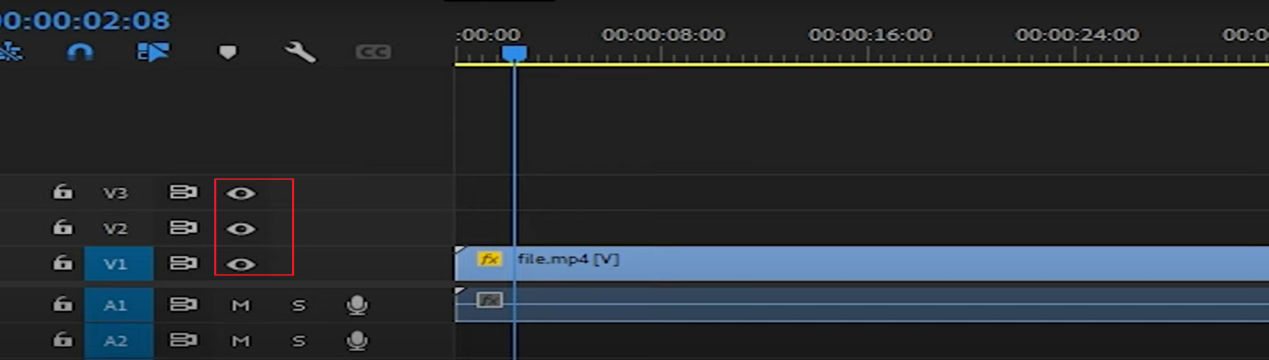
- To make it easier to work on specific tracks, consider hiding other tracks using the eyeball
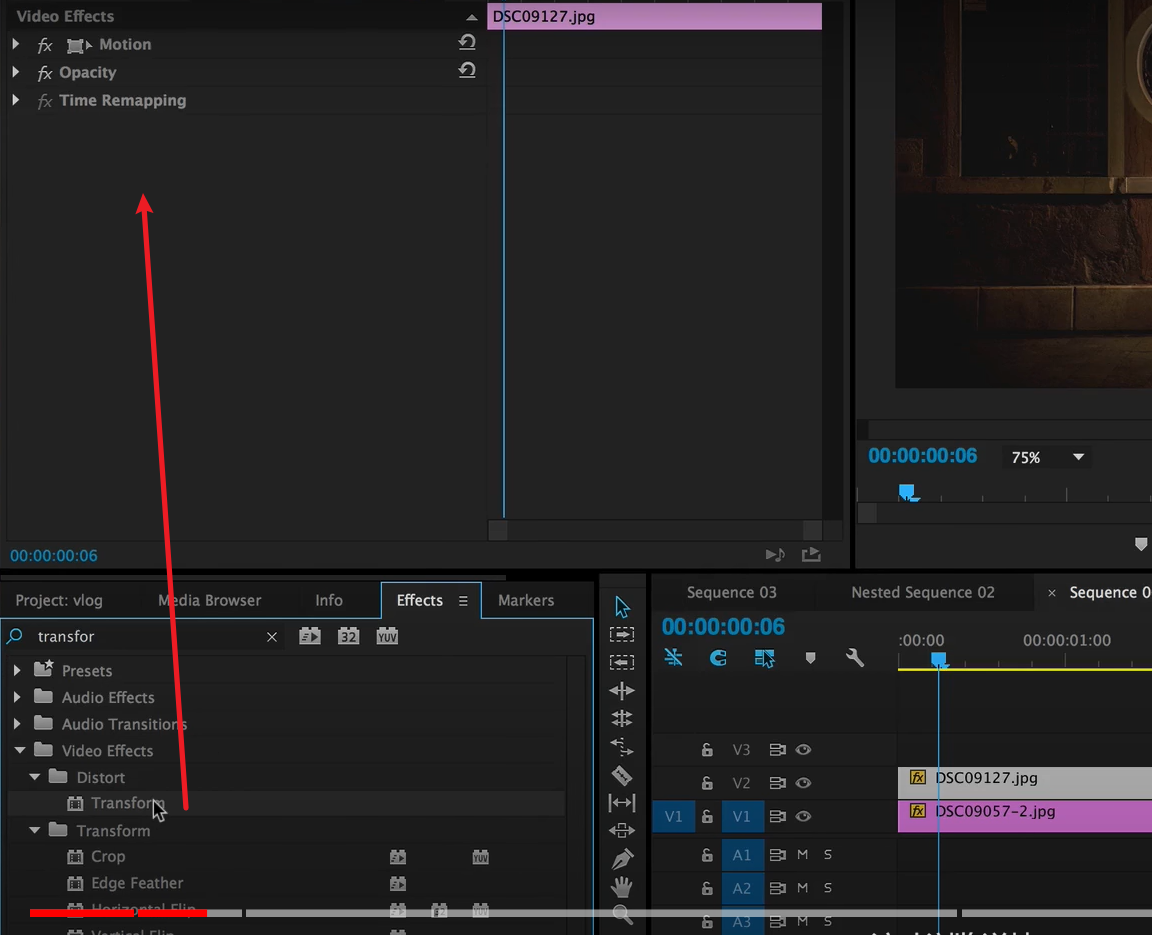
Implement a transform effect
- Navigate to the Effectspanel and locate the Transform
- Drag the Transformeffect and drop it onto the first clip in your timeline.
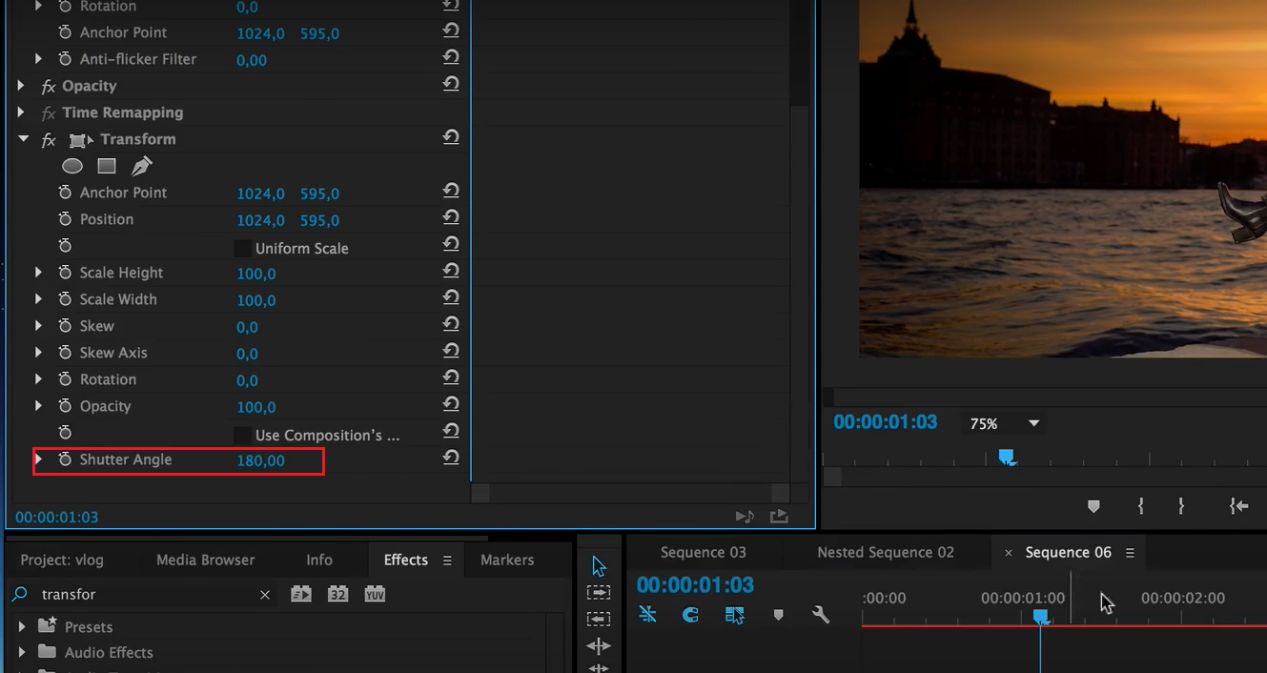
- Proceed to the Effect Controls Find the Use Composition Shutter Angle checkbox and unselect it.
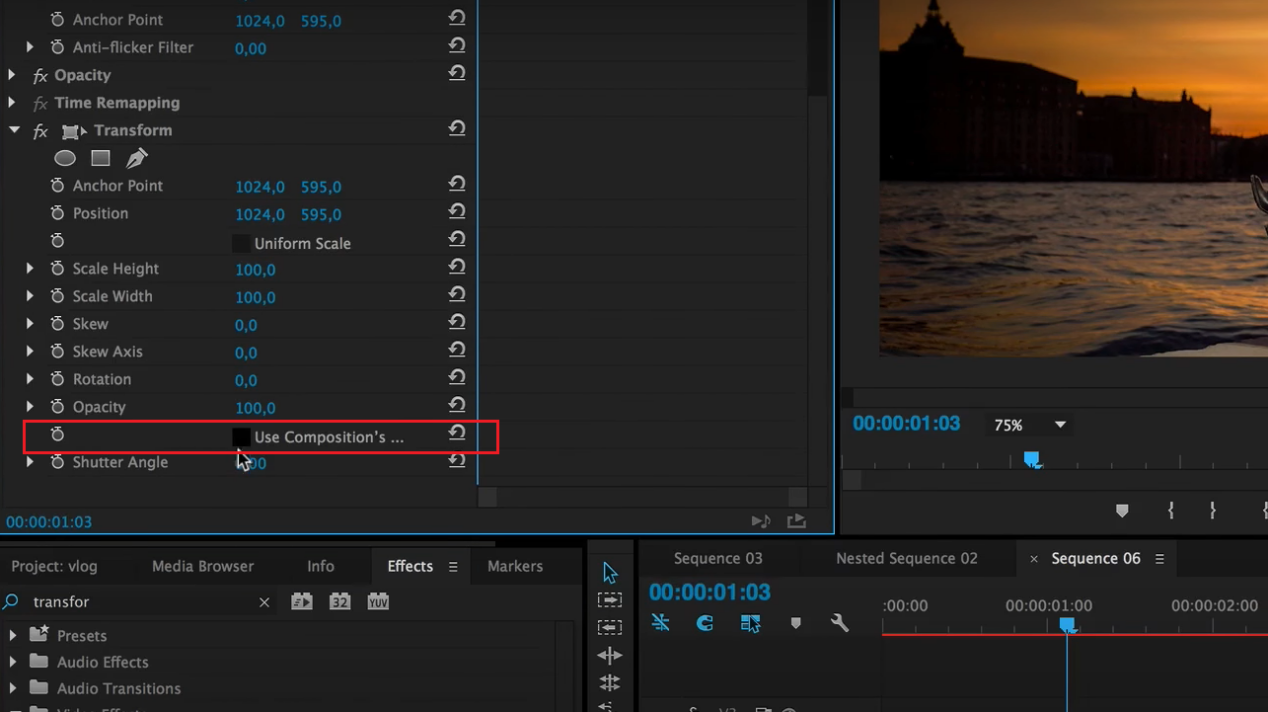
- Adjust the Shutter Anglevalue to 180.
Animate the zoom effect
- To set the initial keyframe, toggle animation (the stopwatch) for the Position property located under Transform
- After a few frames, move the clip up and out of the frame by adjusting the Position property.
- Once finished, remove any surplus footage from the end of the clip.
Repeat
- Duplicate the Transform effect and apply it to the next track by copying and pasting it.
- Locate the two keyframes in either the Effect Controls panel or the timeline and move them to sit immediately after the first animation for that track. Repeat with the remaining tracks.
2. Smooth Zoom Transition Effect
The Smooth Zoom has garnered popularity among vlogs and quick cut enthusiasts as a transition effect. It involves applying a zoom movement to two clips, creating the illusion of continuity from one clip to the next.
Create adjustment layers
- To begin, add two video clips to your timeline.
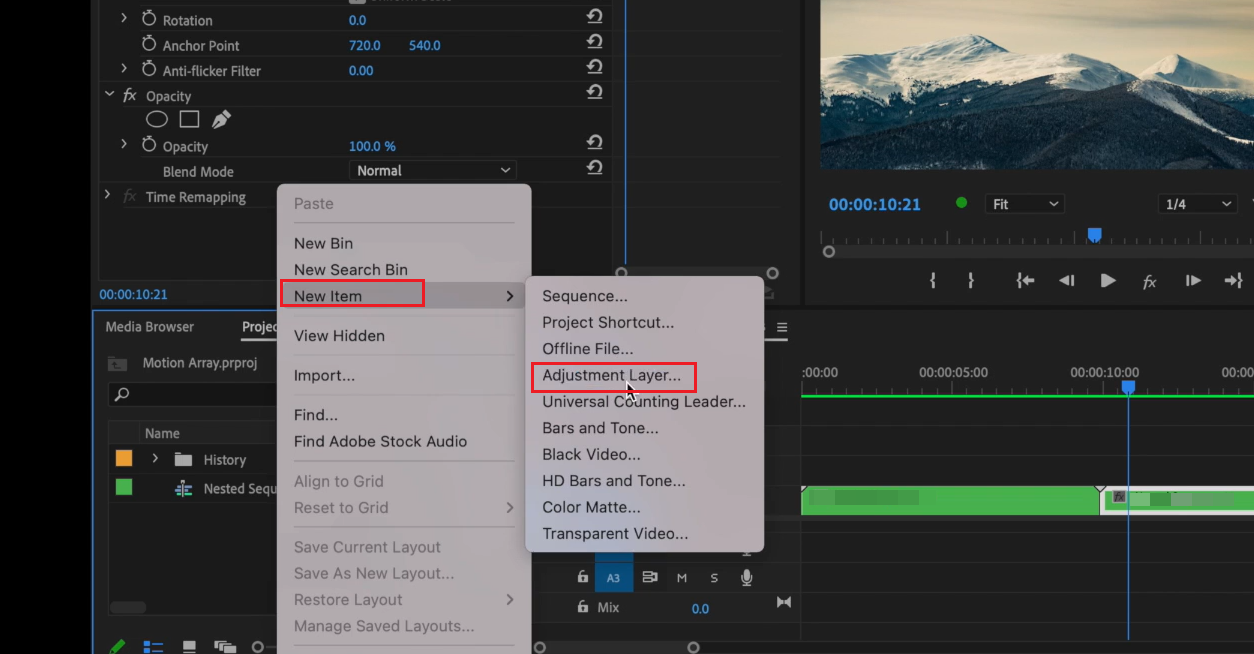
- Open the Project paneland create a New Adjustment Layer by right-clicking, then drag it onto the Timeline.
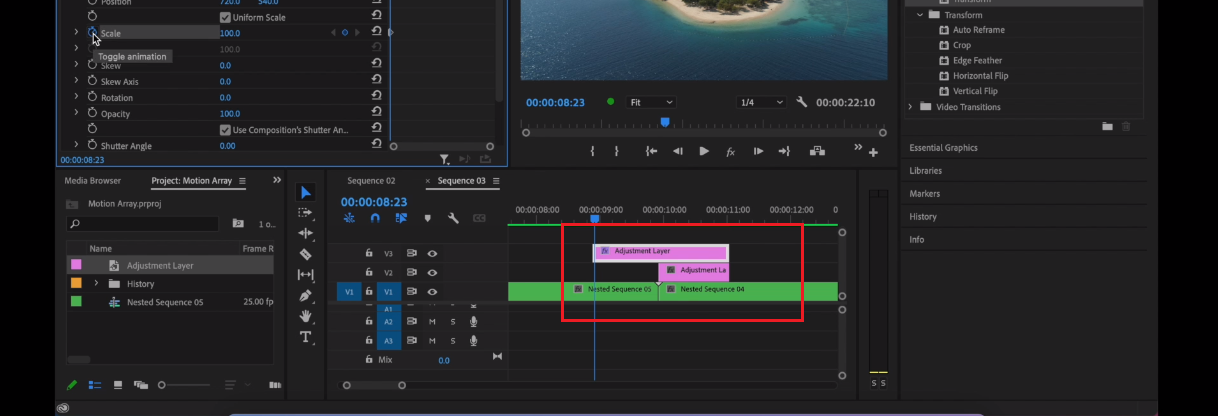
- Adjust the size of the adjustment layer to ensure it covers both clips involved in the transition.
- Duplicate the adjustment layer onto the track above. Resize the bottom adjustment layer to start at the beginning of the second clip and end where the top adjustment layer starts.
Keyframe it
- Apply the Transform effect on the highest adjustment layer and animate a zoom effect that ranges from 100 to 300 using keyframes.

- Disable the Use Composition Shutter Angle option and set the motion blur to 180.

- Although the playback may appear unusual, don't worry and proceed by hiding the top adjustment layer.
Replicate
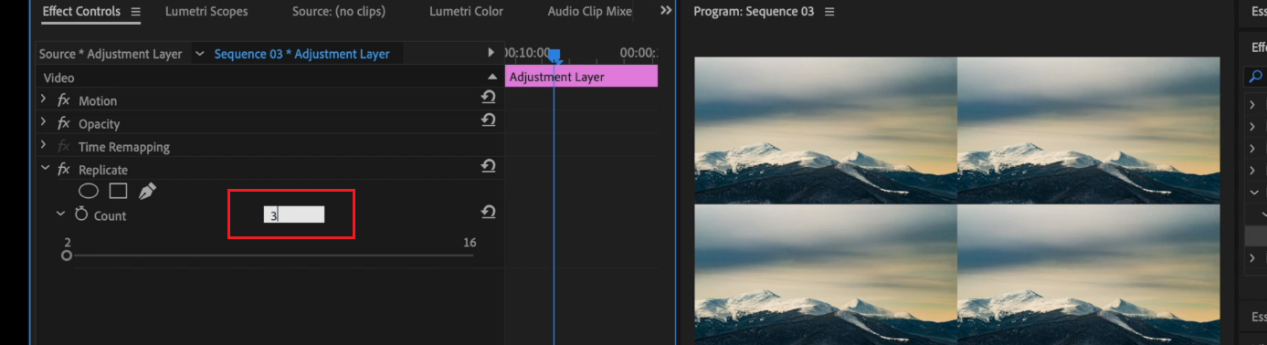
- Access theReplicate effect by opening the Effects panel and apply it to the adjustment layer at the bottom.
- Adjust the Replicate effect to a value of 3 in the Effect Controls panel.
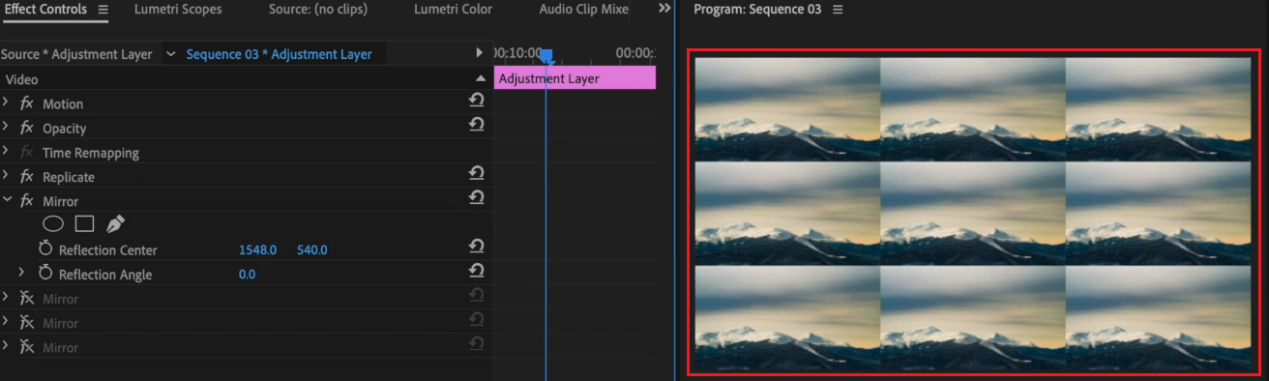
Mirror
- Reflection of the center image for four times is the most challenging part. You can consider reflecting over the four lines that compose the grid below to achieve this.
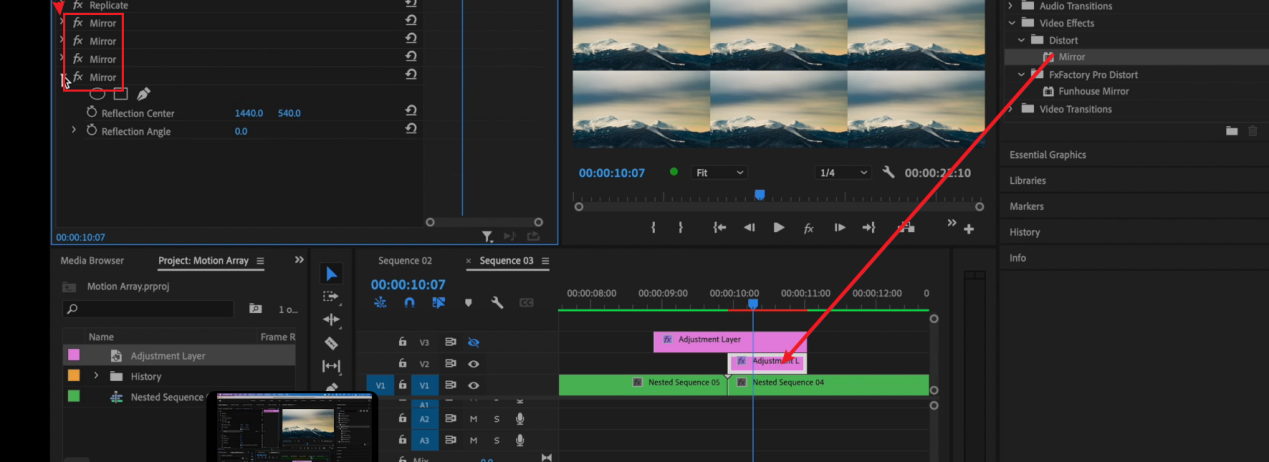
- Locate and include the Mirror effectfour times.
- You will spot it showing up four times in the Effect Controls panel.
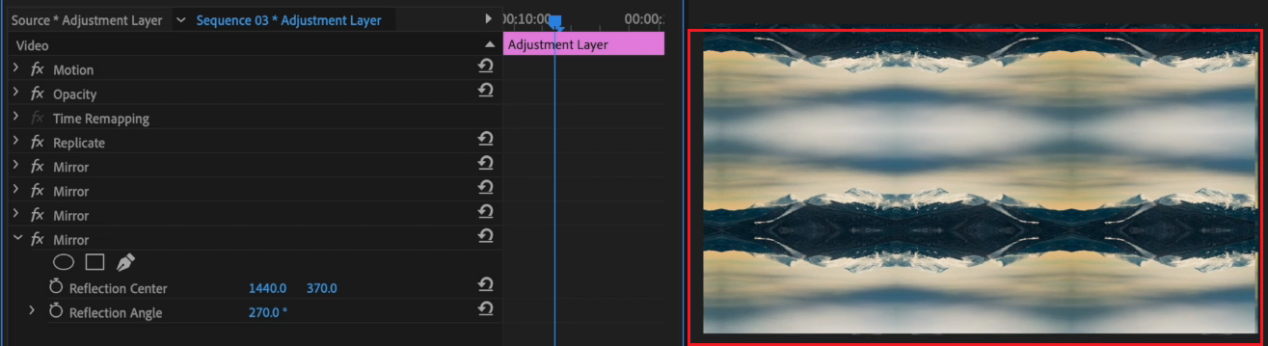
To achieve the first reflection, set the Reflection Angle to 90 degrees and modify the Y parameter until the line between the middle and bottom rows vanishes in your grid.
For the second reflection, set the Reflection Angle to -90 degrees and adjust the Y parameter until the line between the top and middle rows disappears.
Set the Reflection Angle to 180 degrees for the third reflection, and fine-tune the X parameter until the line between the left and center columns disappears.
Finally, set the Reflection Angle to 360 degrees for the fourth reflection, and fine-tune the X parameter until the line between the center and right column disappears.
You can identify the differences between the two following images:
3. Dolly zoom effect
The Dolly Zoom effect is achieved by moving the camera forward or backward, while simultaneously zooming the lens in the opposite direction, within the confines of a movie set or studio. Here are the steps:
Select a clip
- The key to achieving this effect is choosing the right clip to begin with. It's important that the camera moves forward or backward in physical space.
- This movement can be achieved through the use of a dolly or drone, but an in-camera zoom won't suffice.
- While not essential, having a clear subject within the clip helps to optimize the effectiveness of this effect.
Formulate the zoom and perfect the effect
This step is fairly straightforward since you are already familiar with the fundamentals of creating a digital zoom.
- Ensure that your keyframes match up with the beginning and end of the dolly movement, which may require some experimentation to achieve the correct scale.
- It's important to maintain consistency in the size of your subject throughout the entire clip.
Conclusion
In conclusion, mastering the art of zooming in Adobe Premiere Pro can greatly enhance the visual appeal of your videos. Through this guide, you have learned how to achieve a basic zoom effect as well as more advanced techniques such as the Shutter Zoom and Smooth Zoom transitions or the Dolly Zoom effect. With practice and experimentation, you can take your video editing skills to the next level and create captivating content that engages your audience.
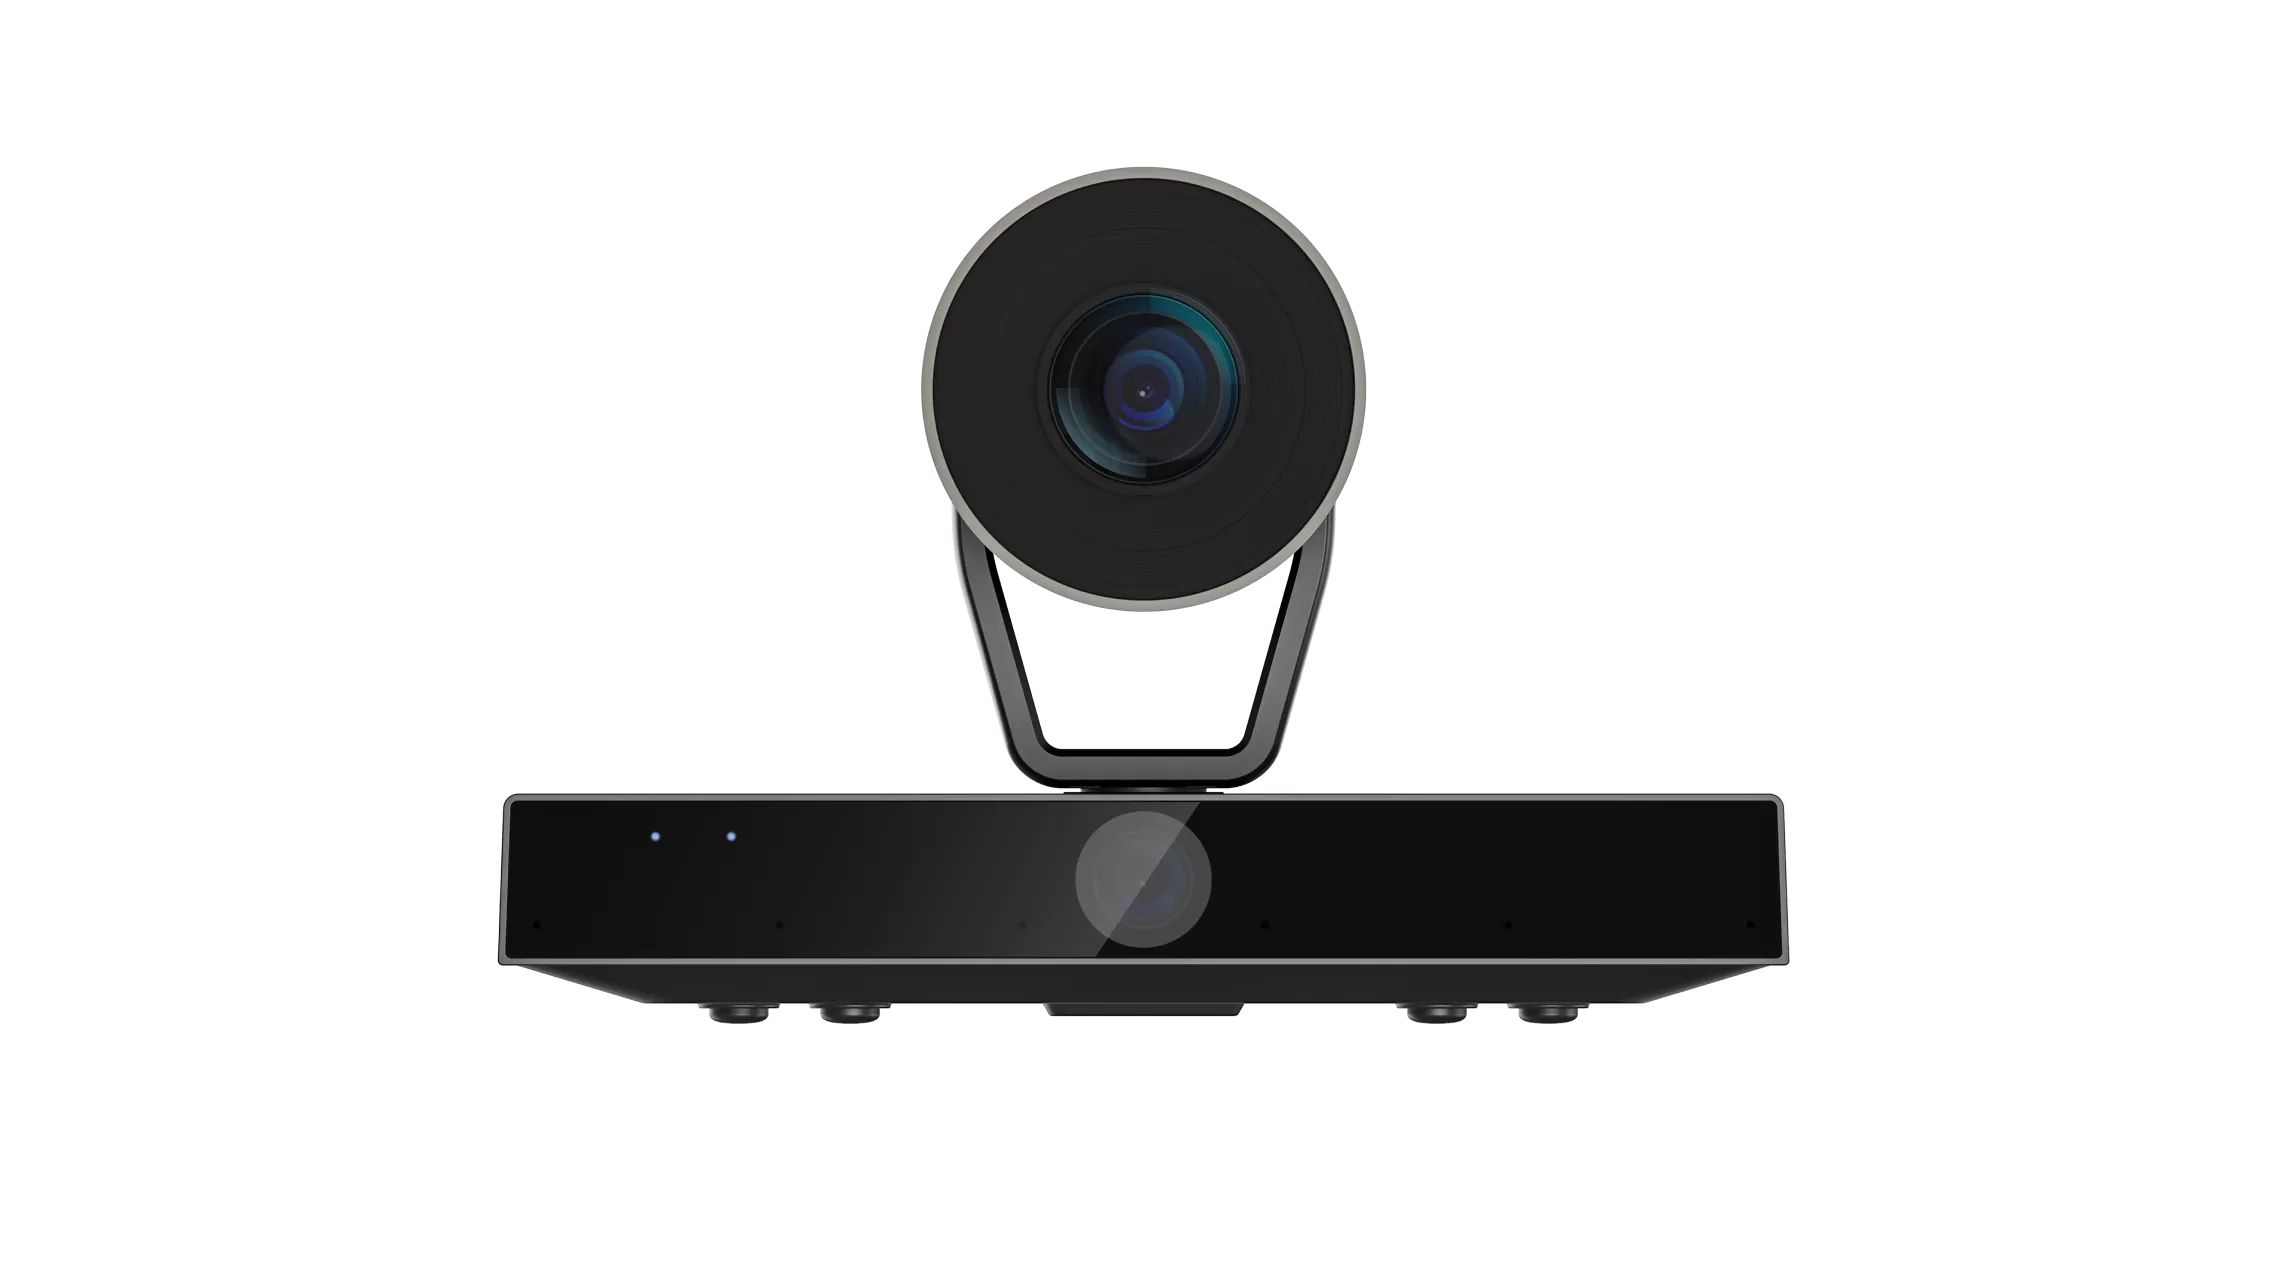
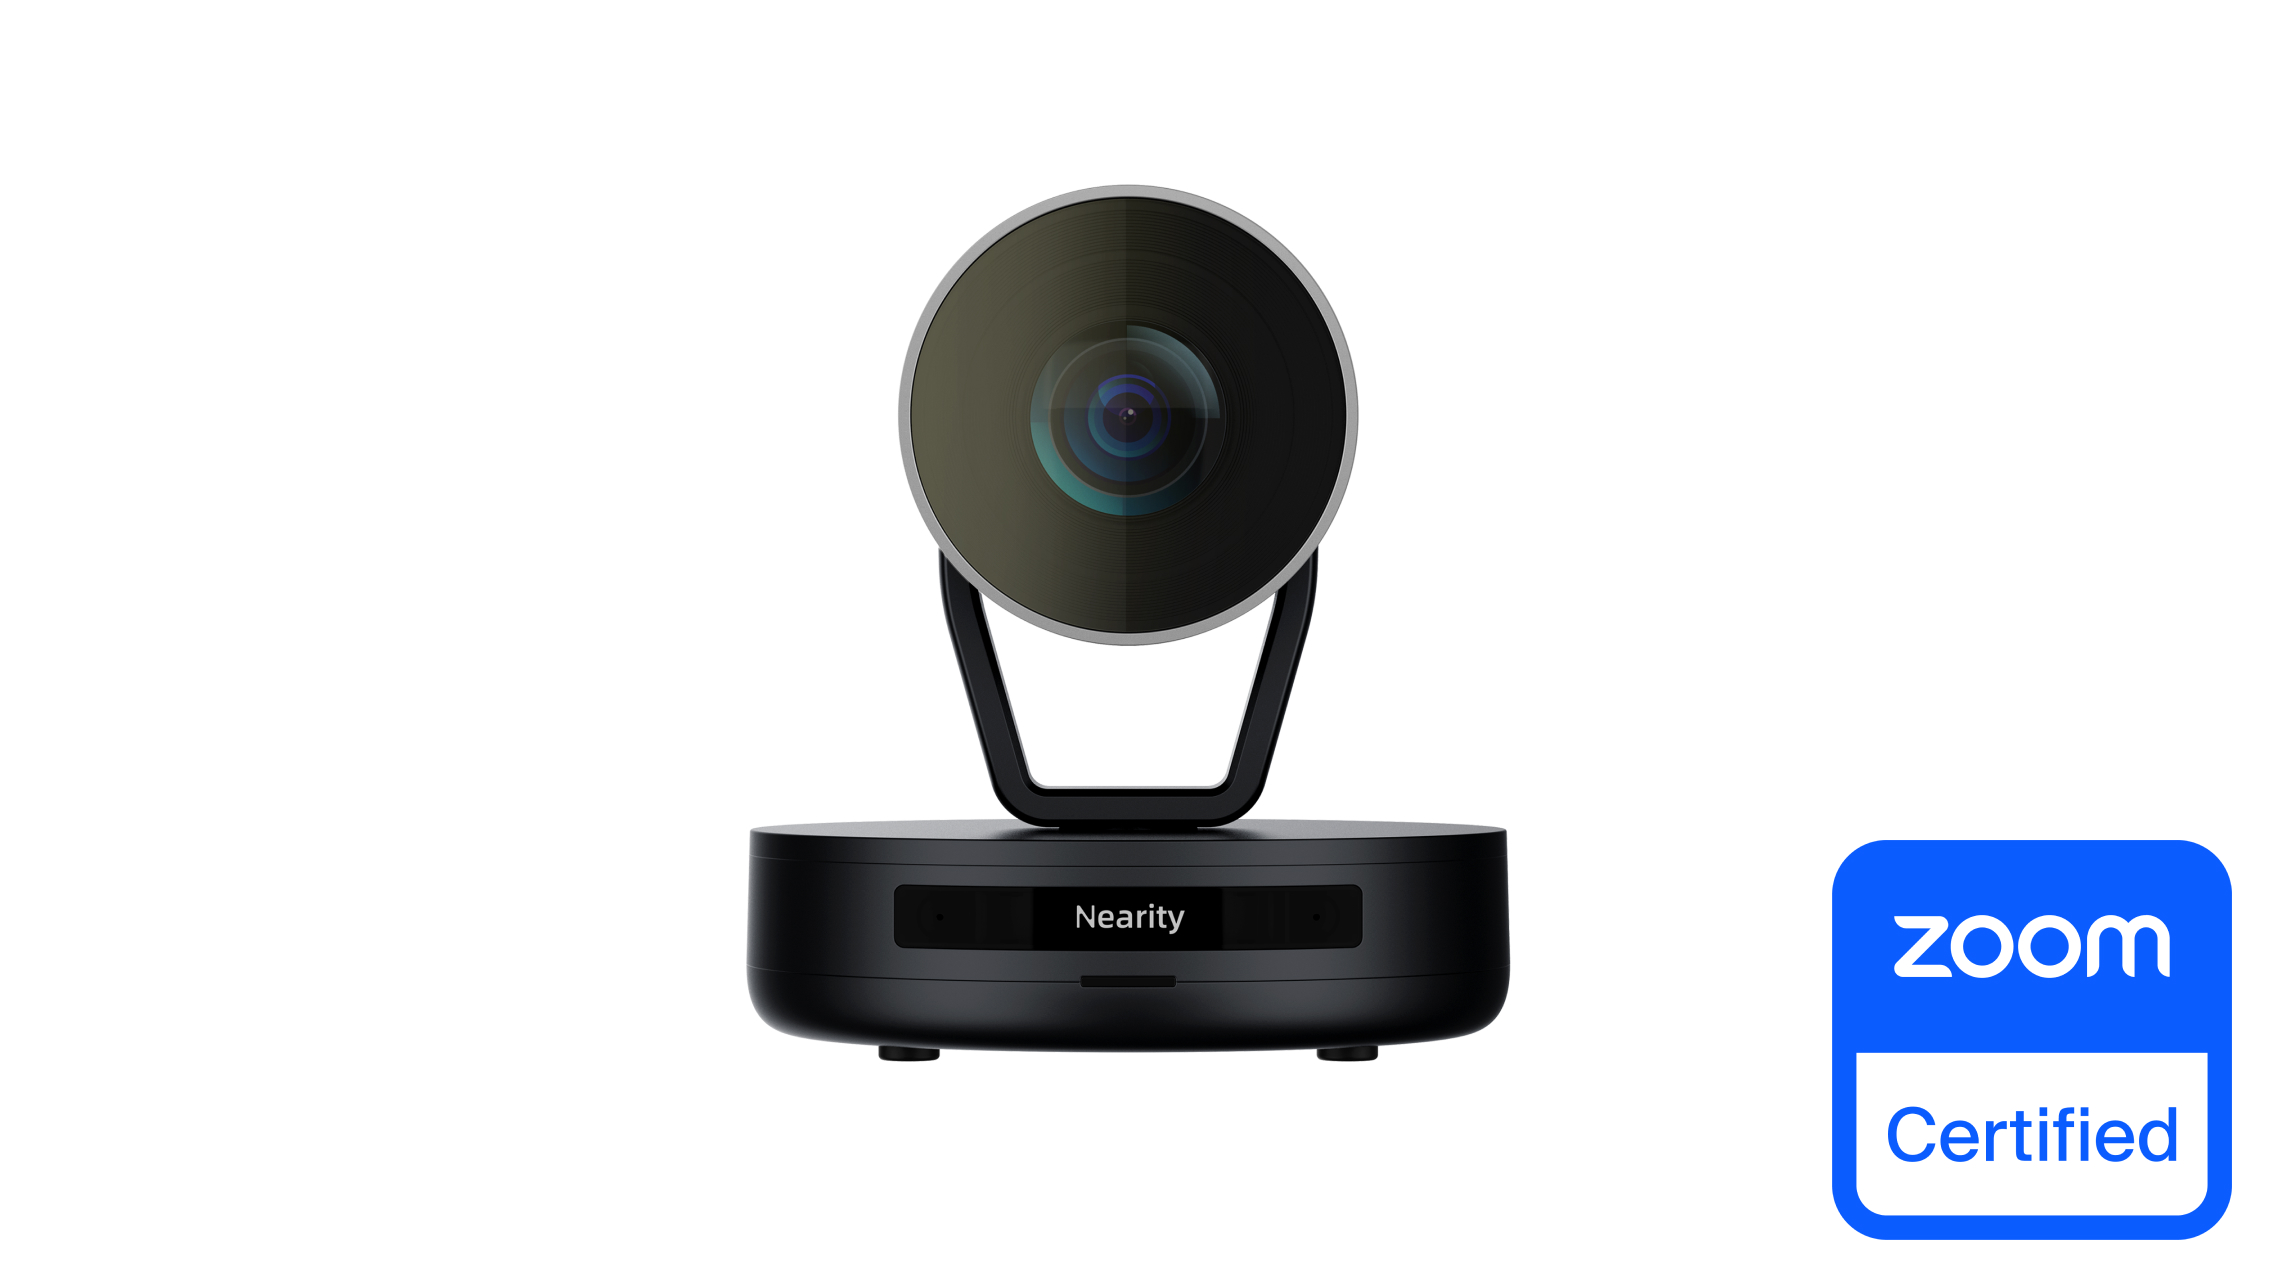
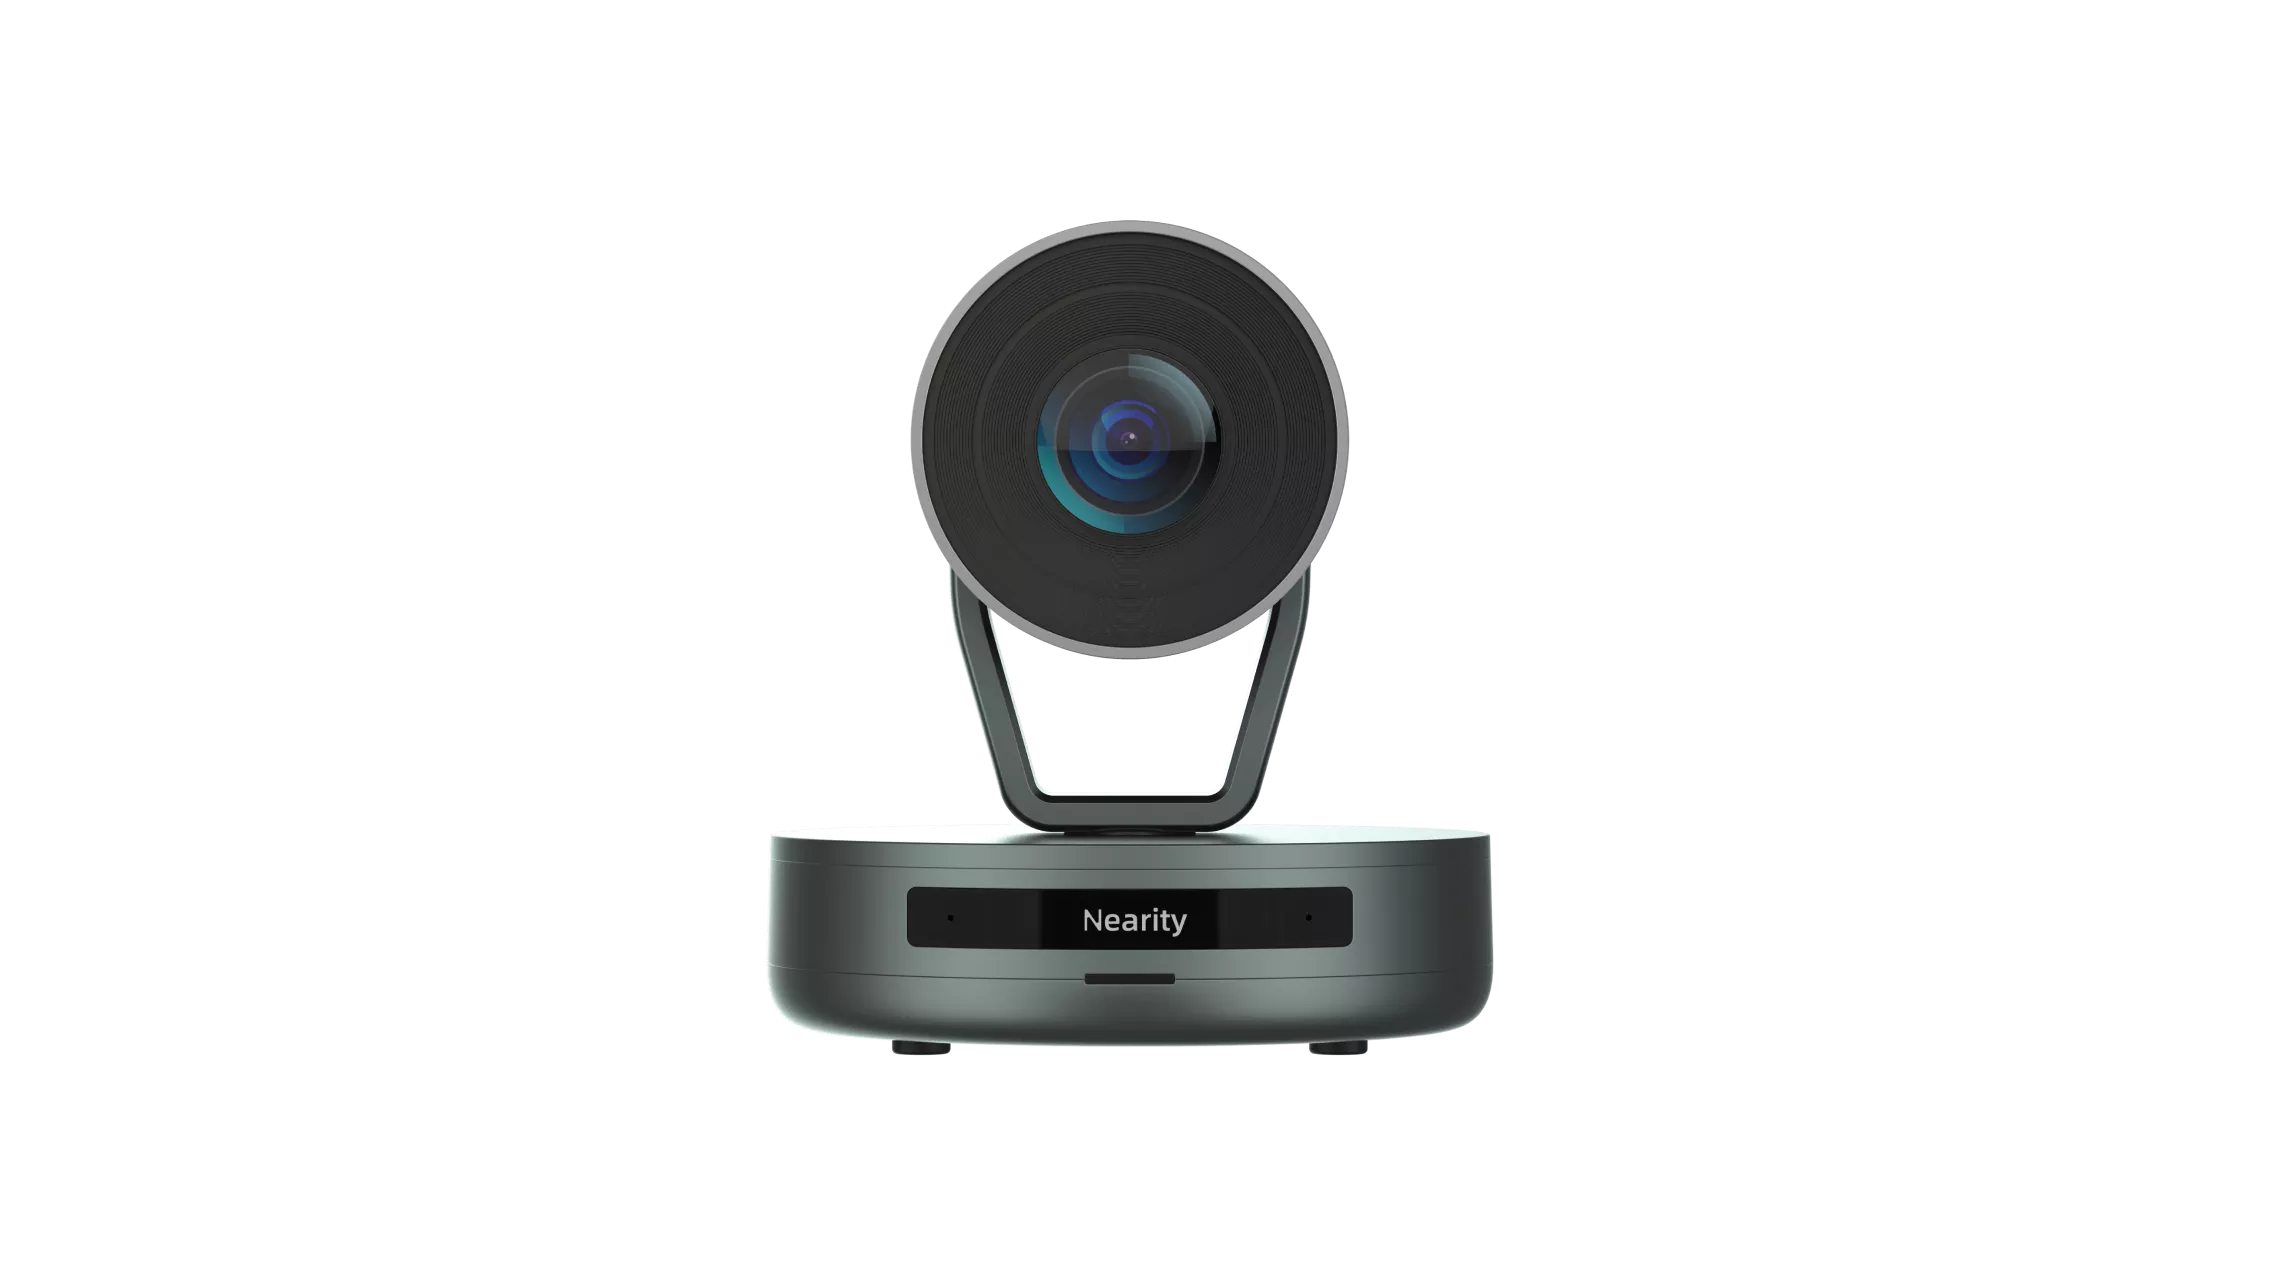
We highly recommend the V30 UHD Conference Camera and V520D DUAL-LENS PTZ CONFERENCE CAMERA to you if you are in need of high-quality video equipment. These cameras offer Ultra HD video and an advanced multi-element microphone array, ensuring complete meeting clarity. Whether you're hosting a virtual conference or conducting remote meetings, these top-of-the-line cameras will provide you with exceptional video and audio quality. Connect with Nearity to take advantage of this cutting-edge technology if you are interested.
Read More
- Explore the Best Conference Speakerphone Neck Strain Solutions
- Quality Audio Visual Equipment Is The Key To Flawless Video Calls
- How Does Zoom Virtual Agent Transform Customer Support
- Resolve Zoom Error Code 1020: Access Denied - Solutions and Tips
- Effective Strategies for Avoiding Zoom Bombing Incidents